Sunday, September 7, 2014

A full Renovation Story ( page three ) Stone Column

Giving the opportunity we like to integrate something unique into every project we work at.
In this project we came up with an stone column that would become in a nice focal point for the whole place and bring some color contrast between cabinets, floors and walls.




A Full Renovation Story ( page two ) Kitchen Installation

 Kitchen Installation

The home owner had ordered the kitchen cabinets from a local Kitchen Cabinets Company, so in this project we did not build the cabinets but installed them.


Friday, September 5, 2014

A Full Reno Story ( page one )

 THE BEGINNING


For quite a long time now, we have been very lucky to be part of projects where the details of the design giving to us keep us extremely motivated during the whole building process or we have been able to work together with the home owner to come up with designs that bring functionality and beauty to the space.

The combination of a good design sense, a vast building experience and excellent workmanship skills together with the resources provide by the home owner allow us to put together unique solutions for any space to be either build or renovate and be able to delivery final results that are well over the standard on the market.

This post will describe one of those projects from beginning to end


DEMOLITION

Demolition is always a good time, it is the process that usually initiates a new job and marks the beginning of hopefully a new exciting project ahead.


STARTING WORK
 
 
Setting up tools
 
Start bringing materials in


THE BULKHEAD
 
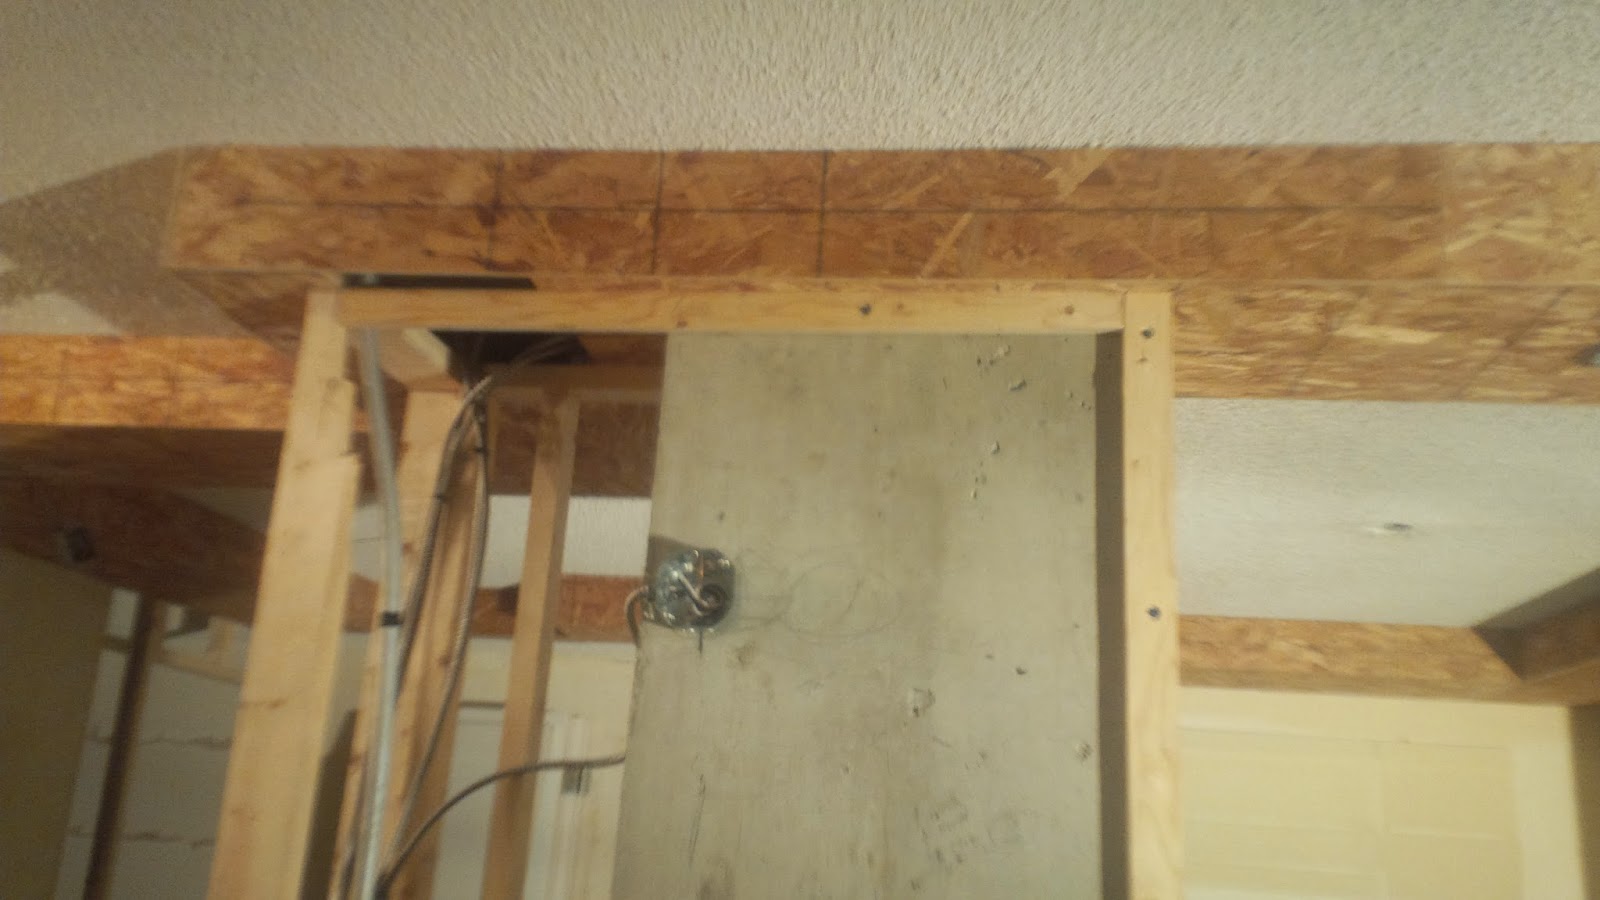
In this particular project there was a bulkhead running around the kitchen above the kitchen cabinets and over the kitchen island.
The bulkhead had to be build long before the kitchen cabinets arrived following the drawings provided by the kitchen cabinets manufacturer.


Saturday, July 19, 2014

Installing Curved Crown Molding


Installing crown molding on curved walls.
We had a project with quite a few curved walls and crown molding need to be install all through the house.
First, the radius and the length of each of these curved walls has to be measured and calculated, so specific length of latex flexible crown molding matching the profile of the straight 6 ¼ crown to be install could be order.

The maximum length you can get in custom made flexible molding is 9 feet ( that's the size of the molds they have ), so for longer walls, and we have a few, two pieces has to be order and we have to deal with a joint, which it was not a problem because even if we could get it all in one piece, practically any piece longer than 9 feet it would be too heavy to properly hold.

Latex flexible crown is much heavy than crown made of any other material including solids wood.
When the radius is ordered right you will get a piece of crown that will adjust and run around the curved wall very tight and nice, as it was made for that unique wall. It glues and sands with no much problem and holds nails very well as long as you nail far enough from the edges.

Due to its weight and flexibility it needs solids proper support pieces previously install for backing.


The fact that we have to deal with the curved walls and the height we had to reach to install the crown in places like the stairs ( a platform was built ) it made a very interesting project out of this one.